Workflow: Barcode Scanning for Vinyl Collection
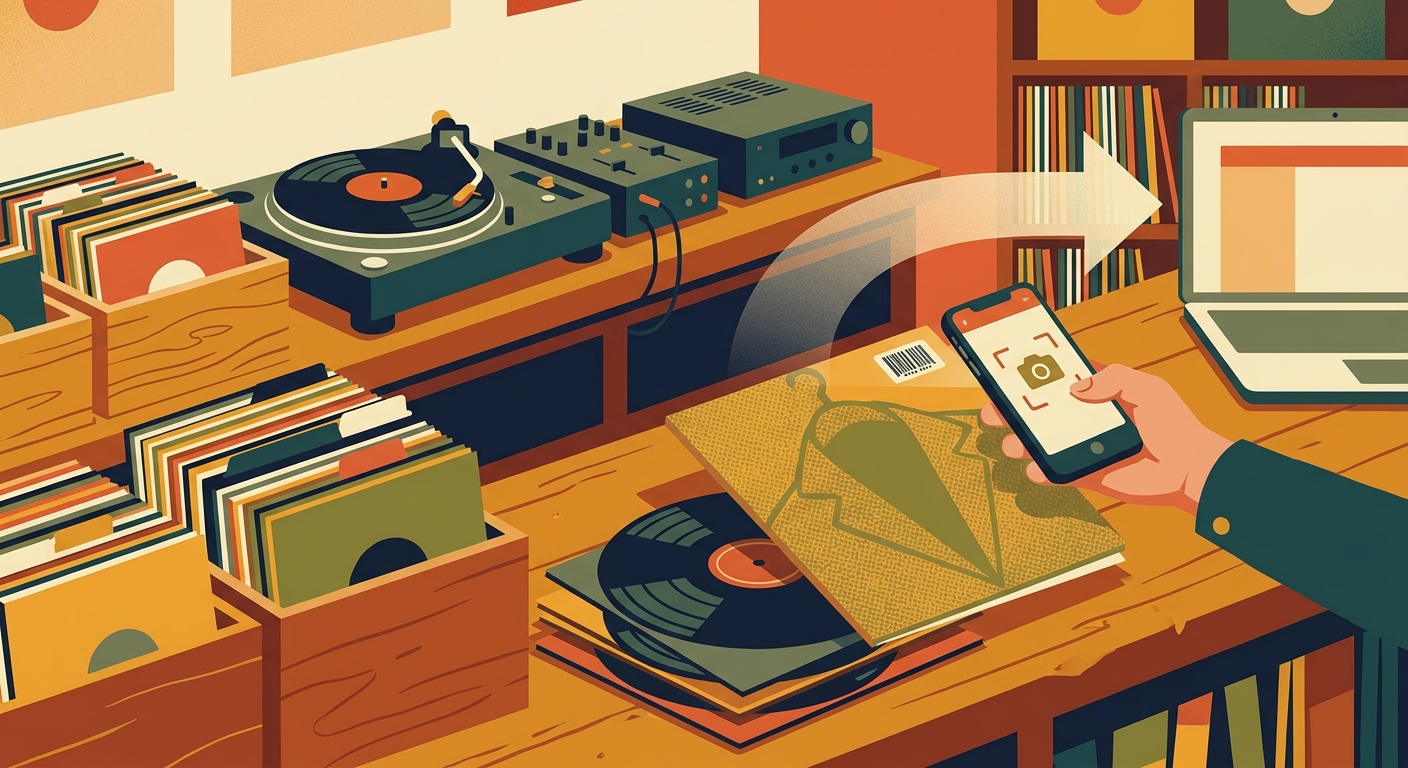
A good barcode scanning vinyl workflow is not about replacing the fun of crate digging. It is about removing the boring part after you get home: typing catalog numbers, guessing pressings, and wondering whether the copy in your hand is already on your shelf. For collectors who buy used records, new reissues, Record Store Day titles, and online lots, the barcode can be the fastest first filter.
Barcode scanning is especially useful because modern music databases are now huge. The public Discogs API root currently reports roughly 19.3 million releases, 10.2 million artists, and 2.4 million labels. MusicBrainz also treats barcode as release-level metadata, and its barcode documentation explains that UPC and EAN codes belong to the specific commercial release, not just the album as an abstract work. That distinction matters for vinyl, where a 2014 180-gram reissue, a 2022 color variant, and a budget repress can share music while being different objects for collectors.
What the barcode can, and cannot, tell you
On most post-1970s retail records, the printed barcode is a UPC in North America or an EAN-13 in many other markets. The Universal Product Code is a 12-digit retail identifier, while EAN-13 uses 13 digits. In practice, your phone camera reads the bars, sends the number to a database, and receives candidate releases.
The important word is candidate. A barcode usually points to a release family, but it is not a perfect pressing fingerprint. Labels sometimes reuse barcodes across formats, territories, club editions, or later represses. Older records may have no barcode at all. Used copies can be mismatched, with one pressing in another sleeve. Imports sometimes have stickers over the original code. Treat the scan as a shortcut to the right neighborhood, then confirm the exact apartment number.
The best workflow at home
Start with a clean staging area: one stack of unlogged records, one stack of confirmed records, and a soft pencil or removable sticky tabs for questions. Scan the barcode first. If the result is exact enough, save it immediately. If several candidates appear, compare four details before choosing: label name, catalog number on the spine or back cover, country, and year. For vinyl, the catalog number is often more reliable than the barcode because it appears on the jacket, center labels, and sometimes the runout.
Next, add condition notes while the record is already in your hands. Use a simple grading shorthand, for example VG+ sleeve, NM media, light corner ding, or audible mark on B2. The scan gets the metadata into your collection; the condition note preserves what only you can see. This is also the point to add storage location. If you organize shelves by genre, artist, or cube number, attach that location now so the record is findable later.
Finally, play a sample before filing expensive or ambiguous records. A barcode cannot tell you whether a used copy is noisy, warped, off-center, or cut hot enough to mistrack. If the record is going into your permanent collection, a quick play test saves future disappointment.
The best workflow in a record store
In-store scanning has a different job: prevent duplicates and help you make faster buying decisions. Before you dig, sync your collection to your phone. When you find a sealed reissue or a modern used LP, scan the barcode and check whether you already own that release or a close equivalent. If there is no barcode, search by artist and catalog number.
Do not let price data make the decision for you. Marketplace history can be useful, but condition, local demand, shipping costs, and personal taste matter more. A $12 copy you will play twice this week is a better buy than a $30 pressing that looks impressive in a database and never leaves the shelf.
Where What's Spinning fits
What's Spinning is built around the listening side of collecting: it listens to your turntable, logs what you actually play, and turns your shelf into a history of real listening instead of a static inventory. Barcode scanning is the perfect companion workflow. Use the scan to get records into the collection quickly, then let listening data show which albums earn their space over time.
Quality control: the two-minute check
Before you call a scanned entry finished, check the basics: artist, title, format, label, catalog number, country, year, condition, and shelf location. This is the difference between a fast collection and a trustworthy collection. Scanning saves time, but the collector still makes the call.
Common edge cases
Private press records, older jazz and classical LPs, white labels, promos, and many pre-barcode pressings need manual lookup. Search by catalog number first, then matrix or runout text. If you cannot confirm the exact version, log the closest match and add a note explaining what is uncertain.
FAQ
Can a barcode identify the exact vinyl pressing?
Sometimes, but not always. A barcode can identify a commercial release, but labels may reuse codes across represses, territories, or variants. Confirm the label, catalog number, country, year, and runout details when exact pressing matters.
What should I do with records that do not have barcodes?
Search by artist, title, label, and catalog number. For older or obscure pressings, runout or matrix text can help distinguish versions. Add a note if you are unsure rather than pretending the match is perfect.
Is barcode scanning worth it for a small vinyl collection?
Yes, if you buy records regularly. Even a 75-record shelf can produce duplicate buys and forgotten pressings. Scanning is most valuable when you are adding several records at once or checking your collection while shopping.
Should I scan sealed records before opening them?
Yes. Scanning sealed records is easy because the barcode is usually visible on the shrink or jacket. Just remember that hype stickers, color variants, and retailer exclusives may require extra notes after opening.
A spreadsheet tracks what you own. What's Spinning identifies what's playing.
On-device vinyl ID logs your listening history automatically. 7-day free trial.
Looking for Shazam for vinyl?
What's Spinning identifies what's playing on your turntable on-device, logs history, and AirPlays now-playing to your TV.
Comparing vinyl ID apps?
Analog requires Discogs and is iPhone-first (iPad coming). What's Spinning works without Discogs on iPhone and iPad with AirPlay.
Try What's Spinning Free
Turn your iPad into a live now-playing display. Track every record you spin.
START FREE TRIALThen $4.99/mo or $39.99/yr · Cancel anytime
Get it on your iPhone
Open on iPhone