A Practical Workflow for Cataloging Your Vinyl Collection
A reliable workflow for cataloging vinyl collection starts before you open an app. It starts with a clean table, a consistent naming system, and a rule for how much detail each record deserves. The goal is to know what you own, avoid duplicate buys, find the right pressing, and make your shelf easier to enjoy.
That matters because vinyl collections are getting larger and more valuable again. RIAA reported that U.S. vinyl revenue grew 7% to $1.4 billion in 2024, the format's eighteenth straight year of growth, and vinyl albums outsold CDs for the third year in a row, 44 million units versus 33 million [1]. When the market is that active, sloppy notes get expensive. A missing barcode, condition grade, or purchase price can be the difference between confidently upgrading a copy and buying the same noisy reissue twice.
Step 1: Decide what your catalog is for
Before scanning, choose the job your catalog needs to do. A seller needs marketplace data, condition, purchase price, and sale status. A listener needs shelf location, play history, cleaning notes, and quick access to favorites. An archivist wants pressing details: label, matrix runout, country, catalog number, year, format, and variant notes.
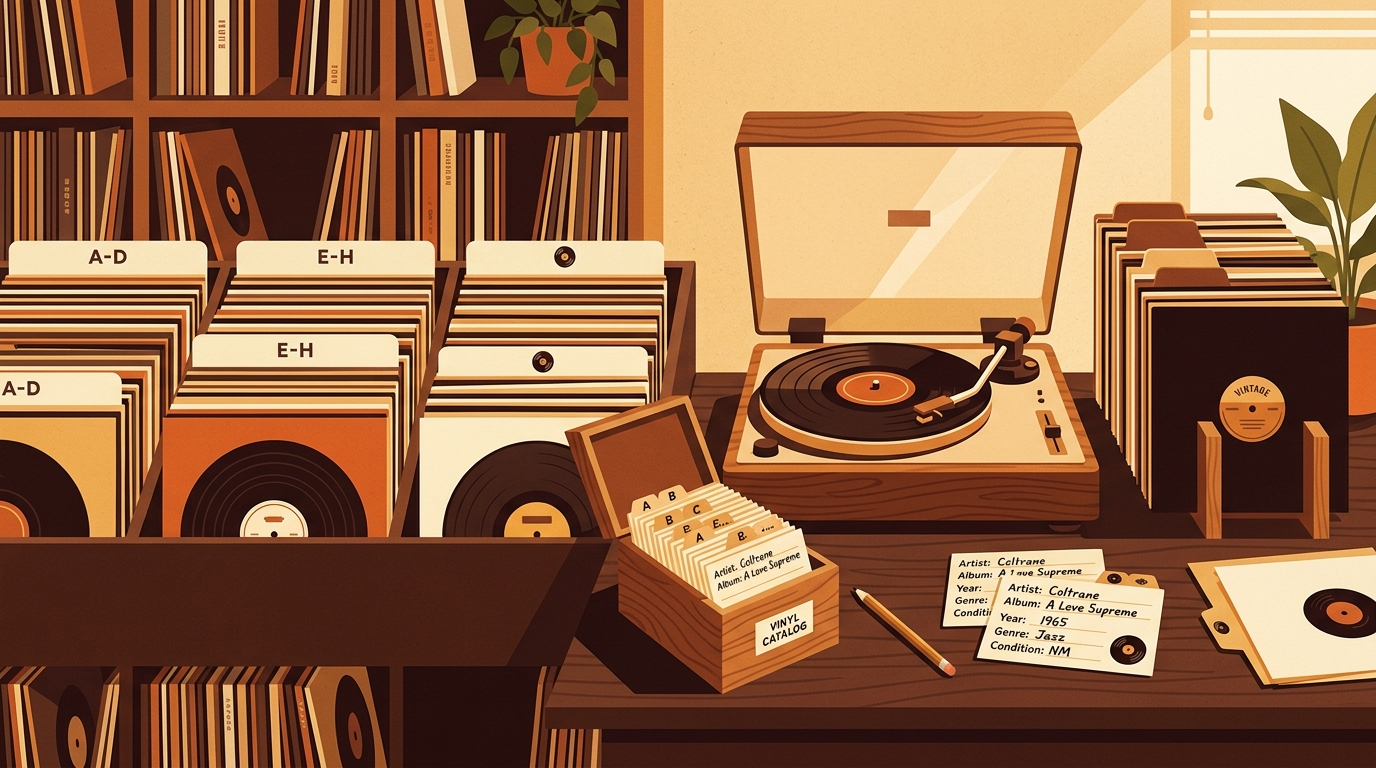
Most home collections work best with three layers. Keep identity fields such as artist, title, label, catalog number, country, year, barcode, and reference URL. Track copy-specific fields such as media grade, sleeve grade, price, source, cleaning status, and shelf location. Then add listening fields: last played, favorite tracks, notes, and upgrade priority. What's Spinning fits that third layer nicely because it is built around playing records, not just owning them.
Step 2: Stage the collection physically
Do not start with the whole wall. Pick one shelf, one cube, or one genre. Pull 25 to 50 records at a time and keep them in order. That batch size is large enough to make progress and small enough that interruptions will not create chaos. If your collection is alphabetized, preserve that order. If not, catalog first and alphabetize later.
Use a simple staging system: uncataloged, needs research, cataloged and shelved. A sticky note or crate divider is enough. The important rule is that every record has a visible state, so half-finished records do not drift back into the shelf.
Step 3: Capture the minimum useful record
For each album, enter the visible facts first: artist, title, format, barcode, label, catalog number, and shelf location. If the record has a barcode, scan it. If not, use the catalog number on the spine or label. For older LPs, the dead wax matrix can identify the pressing, but do not let matrix research stop the workflow. Mark uncertain copies as "needs pressing ID" and keep moving.
This is where Discogs remains useful. It began in 2000 and, according to its public profile, now holds more than 19 million user-submitted release listings [2]. Its strength is release-level detail: country, label, format, and variant differences. Use that detail when it affects value or accuracy, but do not spend twenty minutes on every common copy. A $7 Fleetwood Mac reissue does not need the same detective work as a rare private press.
Step 4: Grade consistently, not emotionally
Condition is the field you will thank yourself for later. Use separate grades for media and sleeve. A record can be VG+ with a VG sleeve, or Near Mint vinyl in a cover with a split seam. Even if you are not selling, grading tells you which records deserve an upgrade.
Create a short house standard. NM means opened but visually spotless and plays cleanly. VG+ allows light marks and minor surface noise. VG means audible wear but enjoyable. G means keep only for sentimental, rarity, or placeholder reasons. Add one plain-language note when the grade needs context: "side B tick during final track," "cover water stain," or "plays better than it looks."
Step 5: Add care and storage fields
A catalog is also a preservation tool. The Library of Congress recommends storing discs upright, using dividers every 4 to 6 inches, keeping collections cool, relatively dry, and stable, and replacing record sleeves with high-density polyethylene sleeves when possible [3]. Turn that into fields you can act on: inner sleeve replaced, outer sleeve added, cleaned, needs cleaning, warped, and storage risk.
These fields prevent small maintenance jobs from becoming vague guilt. Filter for "needs cleaning" and do ten while the turntable warms up. Sort for "outer sleeve missing" and fix jackets in one pass.
Step 6: Make shelf location boring and exact
Shelf location should be simple enough that a guest could use it. Try a code like KALLAX-2-B, Jazz-1, NewArrivals, Box45s, or SellCrate. Location still matters when oversized box sets, 7-inch singles, soundtracks, and overflow cubes live outside the main alphabetized run.
Keep the code stable. Do not rename shelf sections every time you reorganize. If you must move records, update location in batches. A catalog with fuzzy location data becomes decorative. A catalog with boring, exact location data becomes a map.
Step 7: Build a weekly maintenance habit
The best catalog is the one you keep using. Set a weekly 20-minute maintenance pass. Add new purchases, mark anything you played, update condition notes, and clear the "needs research" queue. If you bought records that week, enter source and price while the receipt or shop memory is fresh.
For new arrivals, use a three-touch rule. First: add the basic record. Second: clean and sleeve it. Third: play it and write one listening note. That turns cataloging from data entry into part of the collecting ritual and creates a history of what you actually play.
A simple field template
- Identity: artist, title, label, catalog number, country, year, format, barcode, reference URL.
- Your copy: media grade, sleeve grade, purchase date, purchase price, source, shelf location.
- Care: cleaned, inner sleeve replaced, outer sleeve added, needs repair, storage note.
- Listening: last played, favorite track, listening note, upgrade priority.
Start with these fields and expand only when a missing field creates a real problem. If you collect first pressings, make matrix and pressing notes mandatory. The catalog should serve your shelf, not punish it.
FAQ
What is the fastest way to catalog a vinyl collection?
Work in small physical batches of 25 to 50 records. Capture artist, title, barcode or catalog number, condition, and shelf location first. Add pressing-level research only for valuable or confusing copies.
Should I use Discogs, a spreadsheet, or a dedicated app?
Use Discogs for release identification, a spreadsheet for custom fields and bulk cleanup, and a dedicated app when you want the catalog connected to listening habits. Many collectors use more than one tool because each solves a different problem.
Do I need to identify the exact pressing for every record?
No. Exact pressing identification matters most for valuable records, imports, audiophile reissues, and records you may sell. For common listening copies, catalog the visible facts and flag uncertain records for later research.
How often should I update my vinyl catalog?
Update it when you buy records, then do a weekly pass for cleaning notes, play history, and shelf changes. Maintenance beats annual rescue projects.