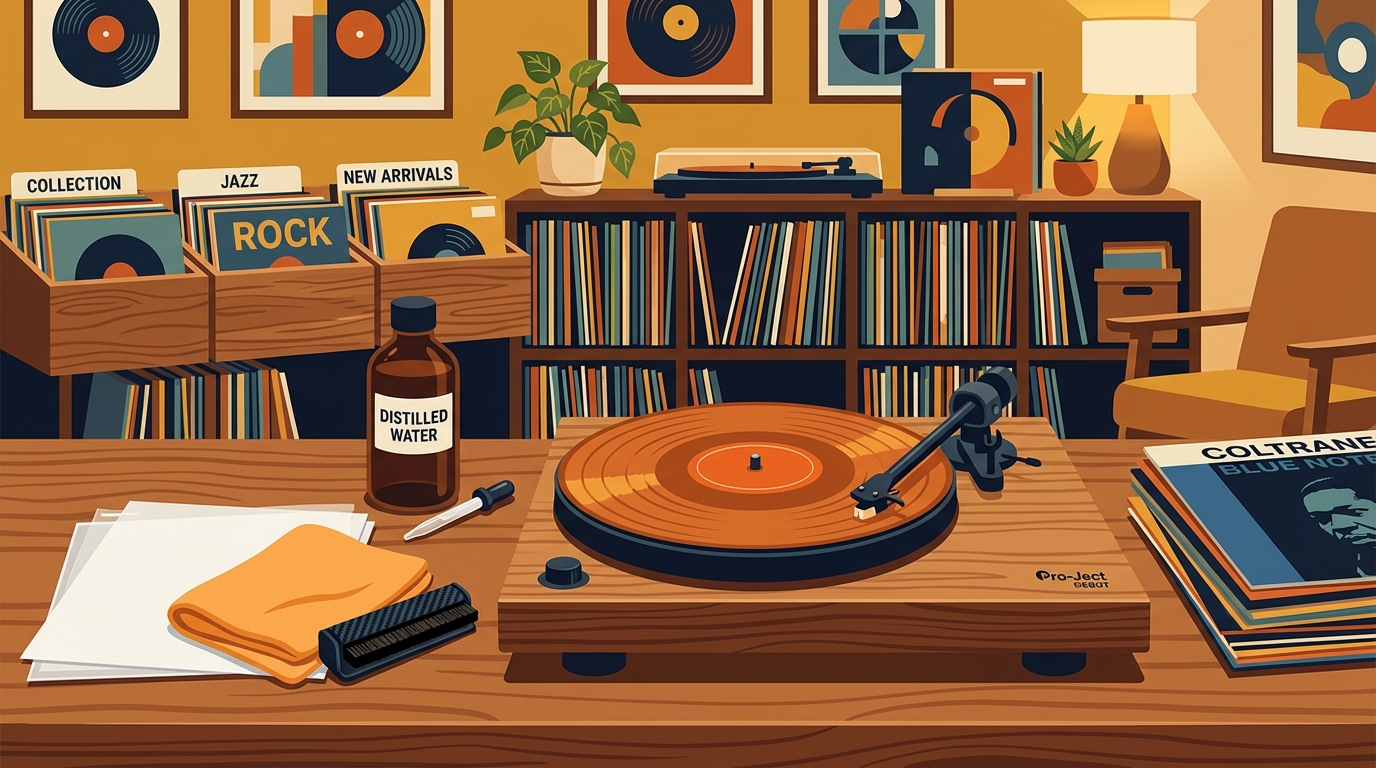
How to Clean Vinyl Records Without a Solution: A Step-by-Step Guide
If you have just unboxed a vintage copy of Pink Moon from a thrift store and it crackles louder than Nick Drake sings, you do not need a $25 bottle of cleaning fluid to bring it back. The same fluid chemistry that commercial solutions sell for $15-30 is a four-ingredient recipe that costs about $5 to mix at home and uses the same surfactants and solvents every audiophile-grade cleaner does. Distilled water, isopropyl alcohol, a drop of dish soap, and a carbon fiber brush will handle roughly 90% of the cleaning a record collection ever needs.
Below is the full how-to: the recipe, the technique, what to avoid, and when it is worth paying for a dedicated record-cleaning machine instead. Every step has been cross-referenced against cleaning guides from Pro-Ject, House of Marley, Record Doctor, and the audiophile community that has been wet-cleaning vinyl at home since the format came back.
Why "just water" is not enough — and why tap water is worse
Vinyl is polyvinyl chloride (PVC). The groove walls themselves are waterproof, and water alone will not warp a record in the short contact time a cleaning takes. The trouble is everything carried by the water.
Tap water contains dissolved minerals — calcium, magnesium, sometimes chlorine — that are invisible in liquid form and obvious once the water evaporates. The same lime spots that cloud your shower glass will deposit inside a record groove and stay there. According to Hi-Fi guides from Electrohome, Victrola, Pro-Ject, House of Marley, and Record Doctor alike, tap water "can leave residue that dries into mineral or lime deposits" inside the grooves. Those deposits contribute to surface noise, ticks, and the slow abrasion of your stylus. After ten enthusiastic cleaning sessions with sink water, a previously quiet passage can develop a faint background hiss.
Distilled water eliminates that risk. It has had the minerals stripped out, so when it evaporates from the groove, nothing is left behind. This is the same reason every commercial cleaning fluid and every record-cleaning machine rinse step uses distilled or deionized water as the base, not tap water. A gallon jug costs about $1-2 at any grocery or drug store, and one gallon will clean a lot of records.
The DIY cleaning solution recipe
The recipe that Pro-Ject, House of Marley, and the audiophile forums consistently converge on is:
- 3 parts distilled water — the bulk of the fluid; lifts and carries grime out of the groove
- 1 part 91%-99% isopropyl alcohol — cuts grease, evaporates fast, prevents water spots
- 1-2 drops fragrance-free dish soap per batch — acts as a surfactant to break the surface tension so the fluid flows into the groove instead of beading on top
Mix in a clean glass spray bottle. Do not use plastic — high-concentration isopropyl alcohol can slowly degrade some plastics and risk contamination. An amber or opaque glass bottle also blocks UV light, which extends shelf life to 1-2 years.
Why this ratio and not 50/50? Above 25% alcohol concentration, the solution can dry out the record's anti-static coating and, over many cleanings, degrade label adhesive. Below that, it does not evaporate quickly enough to prevent water spots. The 3:1 water-to-alcohol ratio is the sweet spot every recipe I've seen settles on, including commercial pre-mixed fluids.
What about surfactants? Plain dish soap works in a pinch, but the audiophile-grade option is Kodak Photo-Flo 200 or Triton X-100, both photographic wetting agents designed to lower water surface tension without leaving residue. Two drops per quart of mixed solution is enough. Avoid dish soaps with dyes, fragrances, or moisturizers — they leave films that attract dust, which is the opposite of what a clean record needs.
Step-by-step: cleaning a record without store-bought solution
Step 1: Dry-brush with a carbon fiber brush
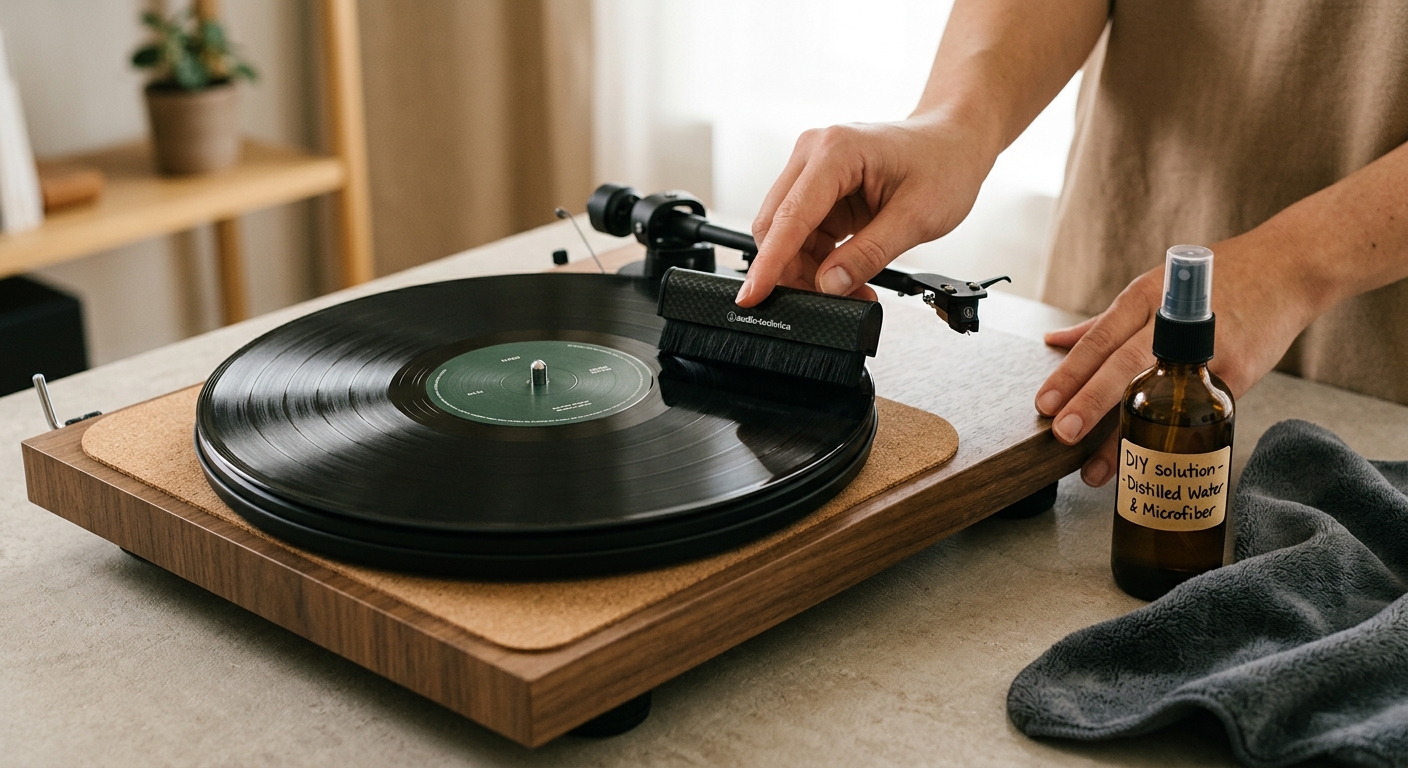
Before any wet cleaning, do a dry pass with a carbon fiber record brush. Music Hall's carbon fiber brush contains over 1,000,000 anti-static fibers in two rows, with a grounding pad between them. The conductive fibers do two things at once: lift loose dust out of the groove and bleed off the static charge that holds the dust in place in the first place.
Technique matters. Hold the brush perpendicular to the grooves, not parallel. Lower the bristles so the very tips touch the vinyl — pressure should be light enough that the bristles do not bend. Let the record spin at 33-1/3 RPM for 3-4 rotations, then scoop the brush straight up off the record surface. Do not slide it across the spinning record toward the spindle or the edge; that drags whatever dust the brush just collected back across the grooves you are trying to clean.
For best results, repeat the dry-brush pass twice. Carbon fiber brushes are good at picking dust up but not great at holding onto it, so two passes is a real improvement over one.
Step 2: Apply distilled water to a microfiber cloth
Mist distilled water onto a clean, lint-free microfiber cloth — never directly onto the record. A direct spray can push fluid into the label area, and the paper label is the one part of the record that actually is vulnerable to water damage. Wipe in the direction of the grooves, never in a circular motion, which can catch a microfiber thread and drag it across the grooves.
This first wet pass removes whatever the carbon fiber brush loosened. It is also a chance to inspect the record under a strong light for scratches that no amount of cleaning will fix.
Step 3: Apply the cleaning solution
Spray the cleaning solution onto a fresh section of the microfiber cloth. Wipe the record with the grain of the grooves, working from the label outward, rotating the record for two full turns. For stubborn fingerprints, oily residue, or a thrift-store find that has clearly been touched a lot, let the solution sit on the record for 10-15 seconds before wiping.
The alcohol in the solution is doing the heavy lifting here. It dissolves the body oils and skin salts that fingerprint smudges leave behind, and it evaporates quickly enough that you are not leaving moisture in the groove. The dish soap is the surfactant that gets the fluid into the groove in the first place rather than letting it bead on the surface.
Step 4: Rinse with distilled water
Mist a clean microfiber cloth with plain distilled water and wipe the record again, following the grooves. This step matters more than most guides emphasize. Leftover soap residue on a record is an attractor for dust — it raises the surface's electrostatic potential and gives new dust something sticky to grab onto. A clean rinse is what makes the cleaning last.
Step 5: Air-dry on a rack
Stand the record vertically on a drying rack, or place it label-up on a lint-free towel in a clean, dust-free area. Air dry completely — about 15-20 minutes per side. Never sleeve a damp record. Trapped moisture inside a paper or poly sleeve is the recipe for mold growth, which is far harder to fix than dust.
Do not use a hair dryer or any heat source to speed this up. Heat warps vinyl.
Step 6: Final carbon fiber pass
Once the record is dry, give it one last carbon fiber brush pass to remove any micro-particles the drying process kicked up. The record is now ready to play or to file back into an inner sleeve.
What NOT to use on vinyl records
The cleaning world is full of suggestions that will damage vinyl. Here is the definitive list of things to keep away from your records:
- Tap water — mineral deposits in the grooves after evaporation; use distilled only
- Windex or any ammonia-based cleaner — strips anti-static coatings and can cloud the vinyl
- Bleach, acetone, or other harsh solvents — chemically degrade PVC
- Wax, furniture polish, or oil-based products — leave residue that attracts dust
- Toothpaste or baking soda — light abrasive; scratches the groove walls
- 90%+ isopropyl alcohol straight — dries out anti-static coating and degrades labels; always dilute
- Hot water — warps vinyl; use room temperature or cool distilled water only
- Paper towels or cotton rags — shed lint and are abrasive enough to scratch
- Circular wiping motion — drag microfiber threads across the grooves; always wipe with the grain
When the DIY recipe is not enough
The carbon fiber brush + distilled water + alcohol + soap recipe handles dust, fingerprints, and most light grime. It does not handle three things:
Mold and mildew. If a record has been stored damp, it can develop mold that has grown into the groove walls. Mold cleaning typically requires a wet-vacuum record cleaning machine (Record Doctor VI, Pro-Ject VC-S3, Okki Nokki) or an ultrasonic bath (Degritter, HumminGuru) to pull contaminants out of the groove rather than just moving them around.
Heavy static and embedded grime in used records. The Library of Congress Audio Preservation Lab has measured that uncleaned records accumulate up to 47% more groove wall abrasion after 10 plays versus those cleaned pre-play with a verified system. For a thrift-store haul of 50 records, the time math flips: a vacuum cleaning machine pays for itself in labor savings within a session or two. The Spin Clean Record Washer MK II is the long-standing budget pick at about $80, with two rotating brushes and a fluid bath that cleans roughly 150 records per fluid batch.
Vintage shellac 78s. Pre-vinyl shellac records are a different material. Most modern cleaning solutions and alcohol-based recipes can damage the shellac surface. Use distilled water only, very gently, and consider leaving serious 78 cleaning to a specialist.
Storage: prevent dirt from accumulating in the first place
Cleaning is only half the story. Once a record is clean, the inner sleeve it lives in is the next biggest factor in how long it stays that way. The standard recommendation from audiophile storage brands is a 3-layer sleeve: high-density polyethylene (HDPE) on the outside for static reduction and scratch resistance, with a rice-paper liner against the vinyl to absorb any residual oils and provide a smooth slide surface.
Avoid bare paper sleeves. The acid in standard paper sleeves migrates into vinyl over years and can cause label discoloration and groove damage. The good news is that a 25-pack of HDPE/rice-paper sleeves runs about $10-15, so re-sleeving a personal collection is a low-cost upgrade that pays off in lower cleaning frequency down the road.
Quick reference: cleaning cost vs. store-bought solution
The DIY recipe is roughly 80-90% cheaper per ounce than commercial cleaning fluids. A typical 16 oz bottle of record cleaning solution sells for $15-25. The equivalent homebrew — 12 oz distilled water, 4 oz isopropyl alcohol, two drops of dish soap — costs about $1.50 in materials (most of which is the alcohol, which you can also use for other household cleaning). At a 12 oz per cleaning batch (the typical amount the fluid reservoir of a Spin Clean holds), that is roughly $1.50 vs. $15-25.
The bigger cost is the carbon fiber brush at $15-25, but that is a one-time purchase that lasts for years and is a daily-use tool that pays for itself in stylus life alone.
FAQ
Can I clean vinyl records with just water?
Distilled water, yes — and for a lightly dusty record, that is often all you need. Tap water, no. The minerals it carries will deposit in the groove as it evaporates and add surface noise over time. If you only have one cleaning tool on hand, make it a carbon fiber brush and a bottle of distilled water.
Is isopropyl alcohol safe for vinyl records?
At 25% concentration or less in distilled water, yes — this is the standard recipe. Higher concentrations (50%+) can degrade anti-static coatings and label adhesive over many cleanings. Never use 90%+ alcohol straight on a record.
How often should I clean my records?
A dry carbon fiber brush pass before every play is the baseline. A full wet cleaning with the DIY solution is needed when you can hear surface noise — typically every 10-30 plays for actively rotated records, less often for stored collection pieces.
Can I use Dawn dish soap on vinyl?
Yes, but in very small amounts — 1-2 drops per batch of mixed solution. More than that and the soap leaves a film that attracts dust. Use the fragrance-free version (Dawn Free & Clear or similar) to avoid leaving residue.
Is vinegar safe for cleaning vinyl records?
Diluted white vinegar (1:1 with distilled water) is sometimes used as a gentler alternative for vintage pressings. It will cut grime but does not evaporate as cleanly as the alcohol mix and can leave a faint smell until the record fully dries. Use the alcohol recipe for everyday cleaning; save the vinegar mix for older records where label preservation is the priority.
A spreadsheet tracks what you own. What's Spinning identifies what's playing.
On-device vinyl ID logs your listening history automatically. 7-day free trial.
Looking for Shazam for vinyl?
What's Spinning identifies what's playing on your turntable on-device, logs history, and AirPlays now-playing to your TV.
Comparing vinyl ID apps?
Analog requires Discogs and is iPhone-first (iPad coming). What's Spinning works without Discogs on iPhone and iPad with AirPlay.
Try What's Spinning Free
Turn your iPad into a live now-playing display. Track every record you spin.
START FREE TRIALThen $4.99/mo or $39.99/yr · Cancel anytime