A Practical Workflow for Cataloging Your Vinyl Collection in an App
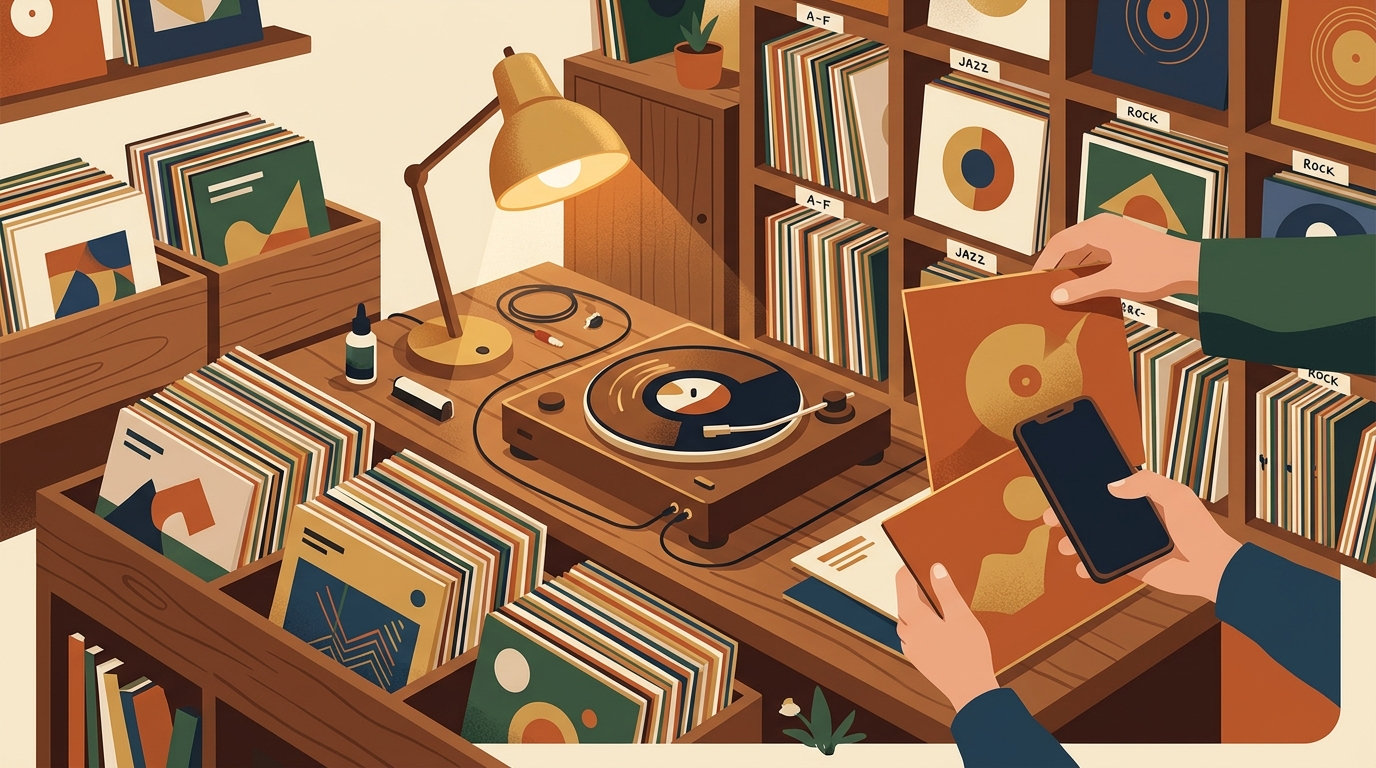
If your records have outgrown one crate, the best workflow cataloging vinyl collection owners can build is not complicated. It is a repeatable pass through the shelf: identify the exact pressing, record condition while the album is in your hands, add the location, then back up the data. That sounds obvious until you are staring at three versions of the same Blue Note reissue and wondering which one you actually bought.
The timing is right to get organized. RIAA reported that U.S. vinyl revenue reached $1.44 billion in 2024, up 6.9%, with LP and EP shipments at 43.6 million units. Vinyl also accounted for nearly three quarters of physical-format revenue and outsold CDs in units for the third year in a row.[1] More records in the house means more duplicates, more forgotten purchases, and more money tied up in condition-sensitive objects.
Start with one shelf, not the whole room
Pick a single cube, crate, or genre section and finish it before moving on. Cataloging fails when it turns into a heroic Saturday project. A better rhythm is 25 records at a time: pull a stack, scan or search, verify pressing details, add notes, then return each record to its place. What's Spinning is useful here because a collection app can become a listening tool, not just a spreadsheet.
Step 1: identify the exact release
Barcode scanning is the fastest first pass for modern records. Discogs says its app can use a phone camera to scan a barcode, find release details, compare market values, and add a record to a collection.[2] The catch is that barcodes are not universal. Discogs also notes that not every database entry has a barcode attached, so a scan may miss a perfectly ordinary release.[4]
When scanning fails, search by artist, title, label, catalog number, and matrix or runout text. The catalog number on the spine or label is often more useful than the jacket title. For common albums, avoid adding the master release. Discogs recommends verifying the release page, not the master page, by checking catalog number, images, and other identifiers.[3]
Step 2: grade media and sleeve separately
Condition is where collection data becomes valuable. Goldmine's grading guide is blunt: condition is more important than almost anything else in determining record value, and records below Near Mint are worth a fraction of Near Mint prices.[5] Most LP listings use two grades, one for the record and one for the cover.
Create separate fields for media condition and sleeve condition. Use standard labels such as NM, VG+, VG, and G+, then add short notes: light sleeve scuff side B, corner ding, original inner missing, promo stamp. Goldmine recommends grading under strong light and mentioning writing, tape, seam splits, and promo markings when selling.[5]
Step 3: add location before value
A catalog is only useful if it can answer, where is this record? Add a location field early: living room Kallax A3, office jazz crate, new arrivals bin, cleaning queue, loaned to Mike. Discogs supports custom folders, custom fields, and CSV export.[3] Default music metadata matters, but household metadata is what saves time.
Value should come after identification and condition. Discogs calculates estimated collection value from recent marketplace sales, but warns that items without sales history are excluded and exact value depends on many variables.[3] Treat price as a range, not a verdict.
Step 4: capture care and storage details
For higher-value records, add a care note. Library of Congress guidance says grooved discs should be handled by the edge and label areas only, stored upright on edge, kept away from food and drink, and shelved with sturdy dividers every 4 to 6 inches. It also notes that grooved discs average more than 35 pounds per shelf-foot.[6] Storage location, sleeve quality, and shelf support belong in the same conversation as catalog data.
Useful fields include cleaned date, inner sleeve replaced, storage zone, and play notes. If a record has non-fill, a warp, or a locked groove, write it down while the sound is fresh.
Step 5: back up and review monthly
Do a CSV export or other backup after each cataloging session. Discogs provides a full collection CSV export option, and any serious vinyl collection app should make your data portable.[3] A monthly review is enough for most collectors: merge duplicates, fix uncertain pressings, add photos for expensive copies, and move recent purchases out of the new arrivals folder.
The goal is confidence. You should know whether you own a record before buying another copy, where it lives, what condition it is in, and whether it is the pressing you meant to buy. Build the workflow once, repeat it in small batches, and your collection stops being a mystery pile with better cover art.
FAQ
What is the fastest way to catalog a vinyl collection?
Start with barcode scanning for newer records, then use catalog numbers and runout text for anything the scanner misses. Work in batches of 20 to 30 records so you finish each session with a clean, usable section.
Should I catalog every pressing detail?
Yes for valuable, rare, imported, audiophile, or duplicate records. For common low-value albums, capture artist, title, format, condition, and location first, then refine pressing details later.
What fields should a vinyl collection app include?
Use artist, title, release year, label, catalog number, format, media condition, sleeve condition, location, purchase price, estimated value, cleaned date, and notes. Add custom folders for listening queue, sell pile, loaned records, and new arrivals.
How often should I update my catalog?
Update it whenever a record enters or leaves the house. Then do a short monthly cleanup to export a backup, correct uncertain releases, and add condition notes after real listening.
Sources
Try What's Spinning Free
Turn your iPad into a live now-playing display. Track every record you spin.
START FREE TRIALThen $4.99/mo or $39.99/yr · Cancel anytime