Scan Album Inserts to Build a Digital Archive
There is a drawer in your record shelf right now that holds something fragile. It might be a folded lyric sheet, a credit card sized inner sleeve with studio credits, or a full-size gatefold with an interview printed on the inside. That paper is aging. Acidic paper, the kind most inserts and liner notes are printed on, begins to yellow and become brittle within fifteen to twenty years. If you have ever tried to read a thirty year old lyric sheet and watched it crack along the fold lines, you already know what I am talking about.
A digital archive is the only way to preserve what is printed on that paper permanently. Once you scan an insert at good resolution, you own that image forever, at no ongoing cost, with as many backup copies as you want. Your grandchildren could read those liner notes, even if the original paper disintegrates tomorrow.
This is not a project for the perfectionist with thousands of records who wants to scan every piece of paper in their collection. It is for any collector who has ever wished they could look up a lyric while listening, share a credit with a friend, or simply have a backup of something that matters to them. You can start with the records you play most, and build the archive gradually over time.
What to Scan and Why It Matters
The front and back covers are obvious candidates, and most serious collectors already photograph or scan the covers. But the inserts tucked inside are where the real treasure is. Lyric sheets let you follow along as the music plays, and for albums where the lyrics are printed nowhere online, the insert might be the only source. Credit pages list the engineers, producers, session musicians, and studio details that tell the story of how an album was made. Gatefold interiors on double albums often contain essays, session photographs, or artwork that never appears anywhere else.
Some records include posters, usually printed on thin paper that folds into quarters and gets stuffed in without any protection. Those posters are among the most fragile items in a collection. They fold along sharp creases and the ink fades under any light. A single flat scan at six hundred dots per inch captures every detail, and once it is saved as a TIFF file, you have a master copy that will never fade.
Even the small inner sleeves that list catalog numbers and distribution information have value, especially for collectors tracking pressing variations. A clear scan of that sleeve links a specific physical object to a specific catalog number in your collection database.
Choosing the Right Resolution
Resolution matters more than you might expect. A photograph taken with a phone at seventy two DPI might look fine on a screen, but when you try to print it or zoom in to read small text, it falls apart quickly. For text inserts and credits, three hundred DPI is the minimum, and six hundred DPI is better if your scanner can handle it without taking forever. For artwork and posters, six hundred to twelve hundred DPI gives you a high quality master that you can use for sharing, printing, or simply admiring on a large screen.
Color depth matters too. Most scanners default to twenty four bit color, which is fine for most purposes. If your inserts have subtle gradients in their artwork, a forty eight bit color scan preserves more tonal range, though the files will be significantly larger.
Tools That Actually Work
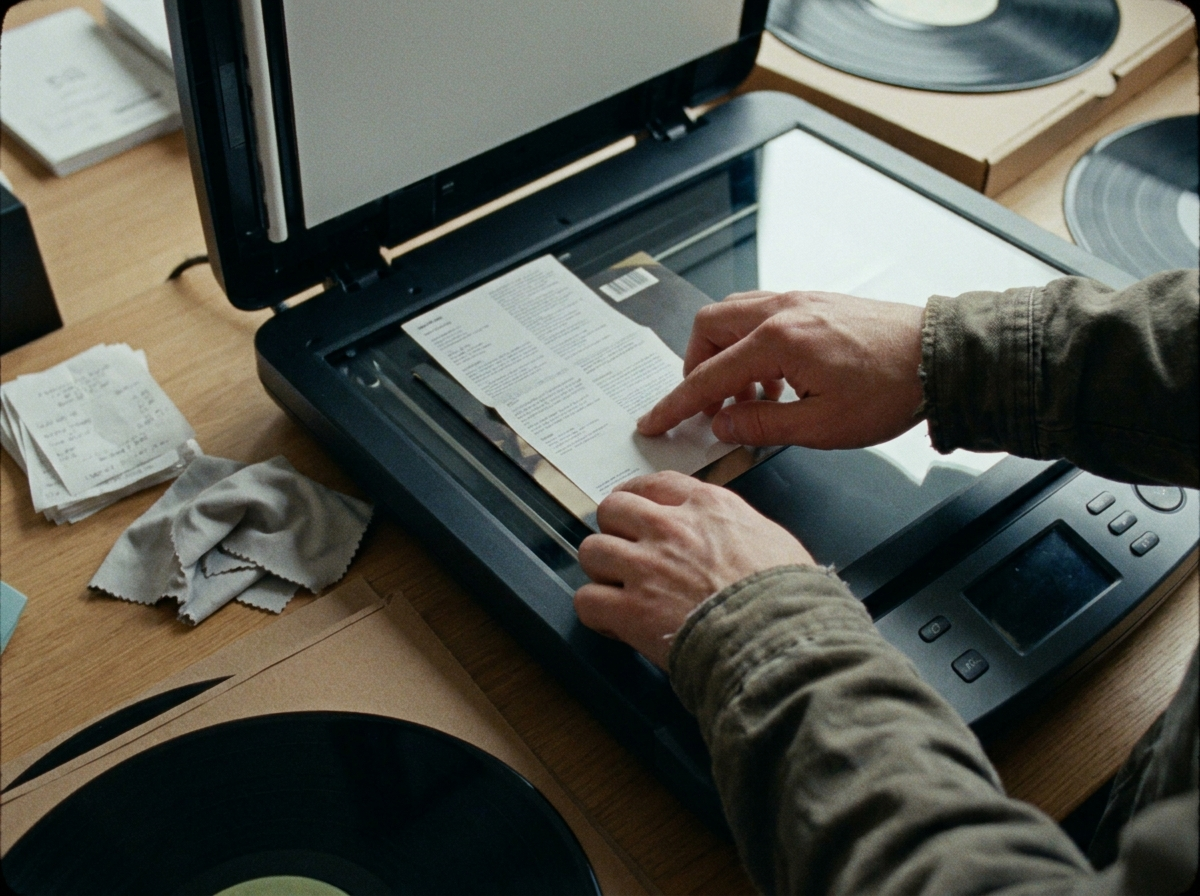
A flatbed scanner produces the best results for album inserts because it holds the paper completely flat without applying pressure. Feeder scanners can work for simple documents, but inserts with thick paper stock, uneven surfaces, or fragile edges risk getting damaged. An Epson V series or Canon CanoScan flatbed in the one hundred to three hundred dollar range handles most vinyl scanning needs well. If you already own a document scanner with an automatic document feeder, test it on a low value insert first before running your entire collection through it.
For collectors who do not want to buy dedicated hardware, phone apps have become surprisingly capable. TurboScan and Microsoft Lens both use perspective correction and multi page assembly to produce clean PDF or image scans. The results are not as sharp as a flatbed at maximum resolution, but for sharing and quick reference they are entirely usable, and the convenience of scanning without leaving your chair makes it much more likely you will actually do it.
VueScan is the professional grade option for those with larger archives. It runs on both Windows and Mac, supports over two thousand scanner models, and gives you fine control over color correction and file output formats. The ninety dollar price tag pays for itself quickly if you are processing hundreds of inserts.
How to Organize Your Archive
A consistent naming convention keeps a large archive findable over time. The format that works well is the one that matches how most vinyl databases are structured: artist name, album title, year, and insert type. Something like PinkFloyd_DarkSideOfMoon_1973_Lyrics.jpg tells you exactly what the file is without opening it. For gatefolds, posters, and credit pages, include that distinction in the filename so you can search for exactly what you need.
Save your master scans as TIFF or PNG files to preserve maximum quality. These are lossless formats that do not compress away detail. For regular access, sharing, and linking to your collection database, create a separate folder of high quality JPEG exports at eighty five to ninety five percent quality, which is usually indistinguishable from the original to the human eye at normal viewing sizes.
Back up your archive in at least two places. An external SSD with a cloud backup service like Backblaze or Google Drive means you never lose your work even if the drive fails. For a collection that has taken months or years to build, the cost of redundant storage is trivial compared to redoing the work.
Connecting Scans to Your Collection
The value of a digital archive multiplies when the scans are linked to your actual collection database. When you can click a record in your catalog and immediately pull up the lyric sheet, the credits, and the poster, the physical object and its digital companion become a single research system.
What is Spinning lets you attach those scans directly to each record in your collection. You can photograph or scan an insert, save it to your archive folder, and link it to the corresponding entry. When you pull up that album later, every piece of paper that came with it is available right there, even if the physical insert is stored somewhere inconvenient.
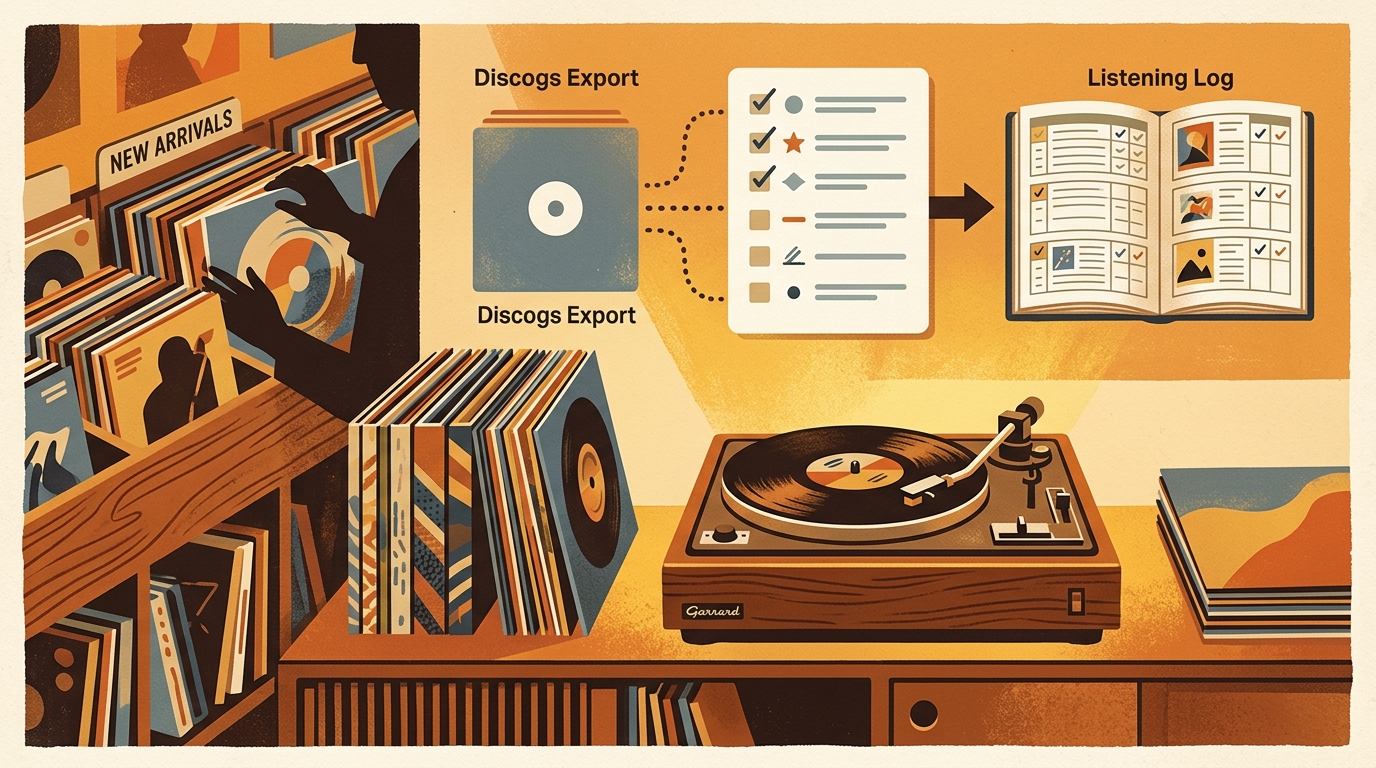
For collectors who use Discogs, the same principle applies. Discogs allows you to upload images to your collection entries, and many community members have contributed scans that fill gaps in the official database. If you have inserts for an album that nobody has scanned yet, adding yours to Discogs helps the entire collector community.
Start With One Record
The best time to start a digital archive was five years ago. The second best time is today, with one record. Pick the album you are going to play this evening, take everything out of the sleeve, and scan it. Front cover, back cover, all the inserts, any poster. Name the files, save them in your archive folder, and link them to your collection entry. That thirty minute investment makes those inserts permanently accessible, no matter what happens to the paper.
Once you see how it works and how nice it is to have those images available, you will naturally want to do it for more records. The archive grows with your enthusiasm, one crate at a time.