Creating Custom Vinyl Record Labels for Your Collection
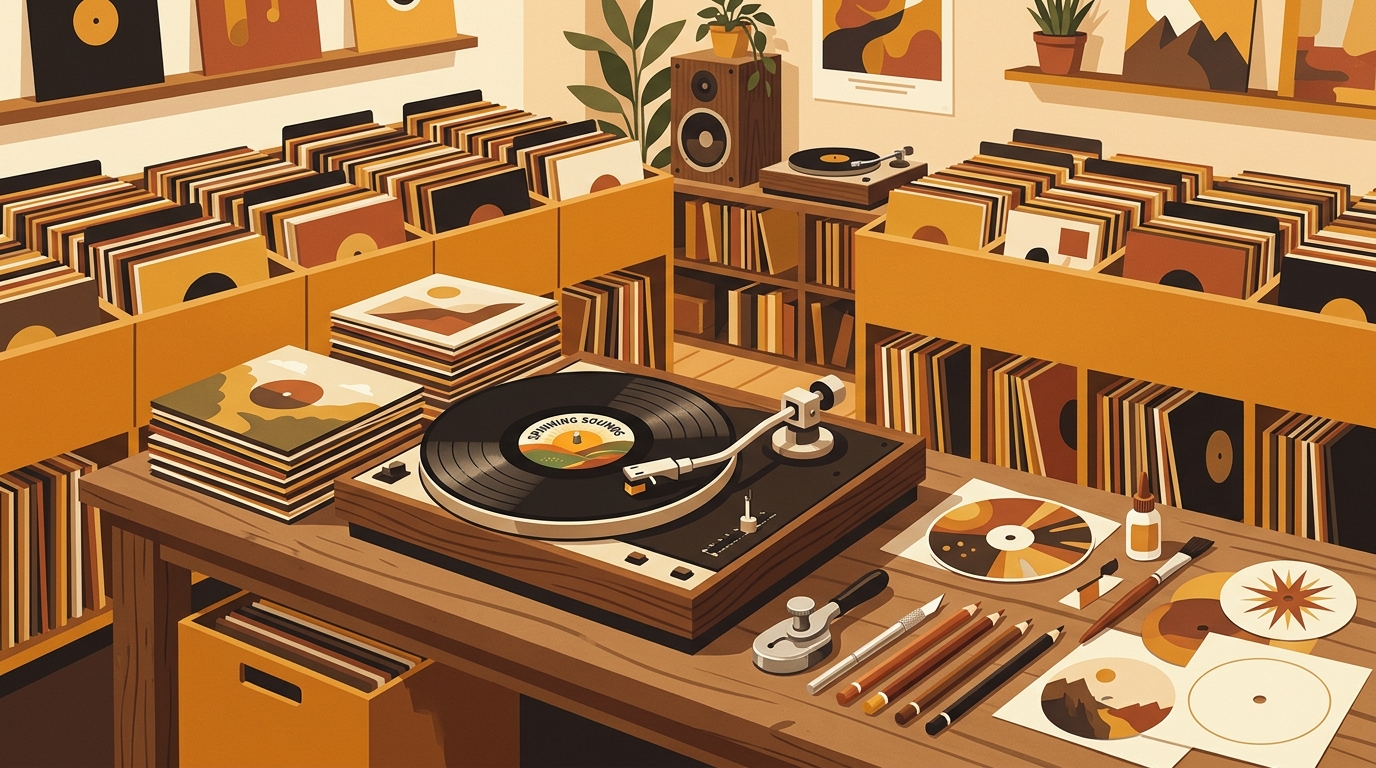
Custom vinyl record labels can make a personal pressing, DJ tool, blank-label record, or inexpensive duplicate feel genuinely yours. They are also useful for organizing test pressings and identifying records whose handwritten notes have become impossible to decipher. The creative part is easy. The important part is knowing when a label belongs on the disc and when it should stay on a removable sleeve.
A factory center label is not simply a sticker. Pressing plants use specialized paper, ink, heat, and pressure to incorporate it into the record during manufacturing. A home-printed adhesive circle is an alteration, so reserve it for new custom pressings, blank-label records, craft discs, or records you are comfortable modifying.
1. Choose the safest label format
For a newly pressed record, download the exact artwork template from the plant producing it. Pirates Press lists a 100 mm label diameter for 10-inch and 12-inch records and 84 mm for 7-inch records. Its specifications also keep text at least 2 mm from the outside edge and clear of the central 10 mm radius.[1] Other plants may use slightly different dimensions, so their template always wins.
For an existing commercial record, the safest approach is usually a matching label on the outer protective sleeve, a printed jacket insert, or a removable catalog card. The Conservation Center for Art & Historic Artifacts advises against putting self-adhesive labels directly on collection materials because pressure-sensitive adhesives can age poorly and become difficult to reverse.[2] You still get the visual identity and organization without covering the original label, matrix clues, or ownership history.
2. Build a useful information hierarchy
Start with the information you need while the record is on the turntable: artist, album or track title, Side A or Side B, and playback speed. Next, add a personal catalog number such as WS-042, the year acquired, or a small genre color. If the label is for a private lathe cut or compilation, include the source and date so you can identify it years later.
Resist the urge to fill the circle. The spindle hole already interrupts the center, and tonearm hardware can obscure part of the label during playback. Put the artist and title in the upper third, side and speed in a bold secondary position, then reserve the bottom arc for catalog details. In What's Spinning, the same catalog code can connect the physical record to your listening history without turning the label into a tiny spreadsheet.
3. Design at final size
Create a circular document at the required diameter and add separate guides for trim, safe area, and spindle clearance. National Audio Company's current artwork guidance calls for raster images at a minimum of 300 dpi at final size, with vector files preferred for type and line art. It recommends CMYK for print work, 5-point bold as a practical minimum type size, and 1/8-inch bleed and type safety in its general specifications.[3]
Those are production baselines, not universal rules. A home printer may spread dark ink into small lettering, while an offset printer may hold much finer detail. Use high-contrast combinations and avoid thin type over busy photographs.
4. Test the print before using label stock
Print the first draft on ordinary paper at 100 percent or Actual Size. Do not use Fit to Page, which can quietly change the diameter and spindle alignment. Cut out the paper proof, place it over the record without adhesive, and check the outer edge, hole position, type size, and visual balance while the record sits on the platter.
When the proof works, match the sheet to the printer. Avery recommends using inkjet stock in inkjet printers and laser stock in laser printers unless the product explicitly supports both. It also suggests selecting a Labels, Heavyweight, or Cardstock media setting to account for the thicker material.[4] Let inkjet output dry completely before cutting, and do not repeatedly feed a partly used sheet through the printer.
5. Cut and center with care
A purpose-made circle punch gives cleaner results than scissors. For the spindle hole, use a punch sized to your measured record rather than guessing. Centering matters because a crooked overlay can look as if the record itself is off-center. Test alignment with the backing still attached, mark a light reference point, then lower the label gradually from one side while smoothing outward.
Never let paper or adhesive extend into the playing grooves. If you are labeling a playable but noncollectible disc, use the thinnest suitable stock and spin it at both 33 and 45 rpm before normal listening. Stop if the label lifts, rubs, or creates visible wobble. Do not try to remove an old factory label with heat, solvents, or water.
6. Protect collectible value
Original labels help identify pressing plants, catalog variants, promotional copies, and counterfeit records. Discogs' Goldmine-based grading guide lists writing, tape, stickers, and adhesive residue on labels among defects associated with a Very Good grade, and says a VG record is generally worth about 25 percent of a Near Mint example.[5] That percentage is only a broad grading guideline, but the message is clear: permanent personalization and collector value rarely cooperate.
If a record might be rare, research the pressing first. When in doubt, customize the outer sleeve. Handle the disc by its edges and label area, as the Library of Congress recommends, and keep the playing surface free of fingerprints.[6] A good custom system should make your collection easier to enjoy without erasing the details that make each pressing identifiable.
FAQ
Can I put a custom label over an original vinyl record label?
You can physically do it, but it is a poor choice for valuable or collectible pressings. Stickers, writing, tape, and adhesive residue can lower the condition grade and may hide pressing information. Use a removable outer-sleeve label or insert instead.
What size is a vinyl record center label?
A common pressing-plant specification is 100 mm for 10-inch and 12-inch records and about 84 mm for 7-inch records. Standards and specialty pressings vary, so measure the actual label area or use your pressing plant's template before printing.
What resolution should custom vinyl record label artwork use?
Use at least 300 dpi at final printed size for raster artwork. Vector artwork is even better for small text, circles, catalog numbers, and line art because it stays sharp when resized.
What information should I include on a custom record label?
Start with artist, title, side designation, playback speed, and a personal catalog number. You can add year, genre, cleaning date, source, or a small color code, but keep the design readable rather than filling every available space.
Sources
- Pirates Press: Vinyl technical conditions
- Conservation Center for Art & Historic Artifacts: Selecting materials for storage and display
- National Audio Company: Vinyl and CD artwork specifications
- Avery: Choosing a printer and stock for labels
- Discogs: How to grade items
- Library of Congress: Care, handling, and storage of audio visual materials
A spreadsheet tracks what you own. What's Spinning identifies what's playing.
On-device vinyl ID logs your listening history automatically. 7-day free trial.
Looking for Shazam for vinyl?
What's Spinning identifies what's playing on your turntable on-device, logs history, and AirPlays now-playing to your TV.
Comparing vinyl ID apps?
Analog requires Discogs and is iPhone-first (iPad coming). What's Spinning works without Discogs on iPhone and iPad with AirPlay.
Try What's Spinning Free
Turn your iPad into a live now-playing display. Track every record you spin.
START FREE TRIALThen $4.99/mo or $39.99/yr · Cancel anytime
Get it on your iPhone
Open on iPhone